Before the first stake
Choose the site and orientation.
The best open patch is not automatically the best court location.
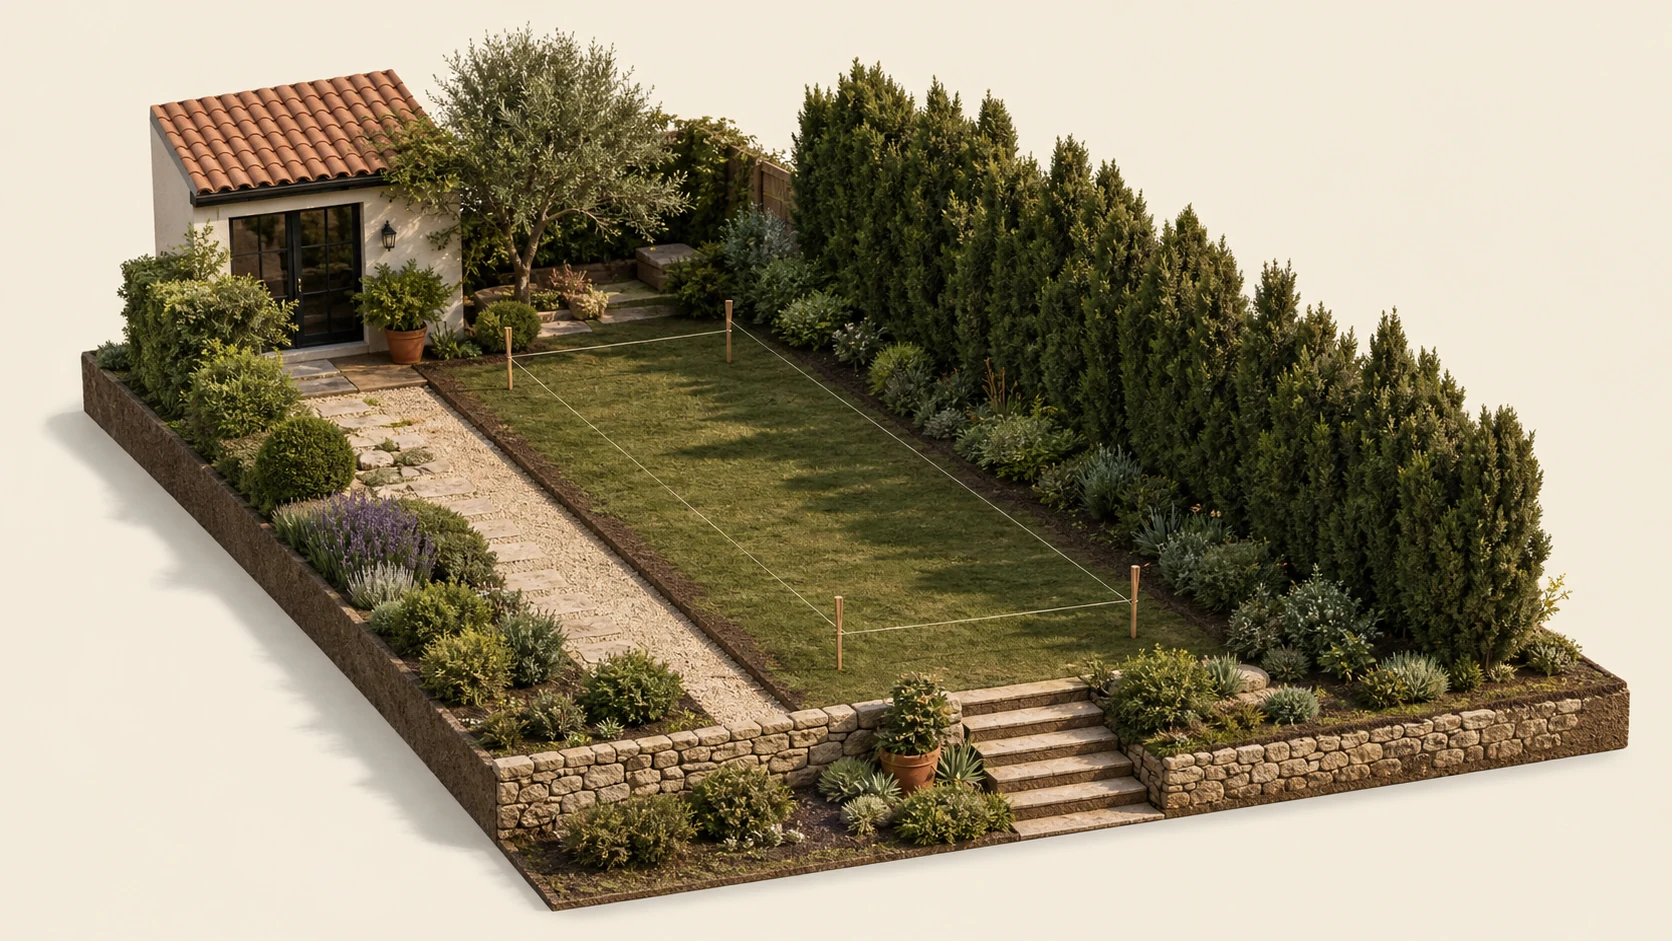
Look for naturally high, well-drained ground with enough room for circulation and future seating. A north–south orientation can reduce low-angle glare during play. Existing hedges, fences, or walls may help with wind, but avoid roots and low areas where water collects.
- Watch the sun across a full day.
- Trace where stormwater already travels.
- Reserve access for players, materials, and maintenance.
Scale with intent
Fit the court to the space.
Length changes the character of play; width determines whether the court feels generous or constrained.
91 × 13 ftRegulation
76 × 12 ftClub or tournament
50–60 × 10 ftBackyard recreation
30–40 × 8 ftCompact court
Leave additional room for borders, walking paths, benches, scoreboards, lighting, and comfortable approaches at both ends.
The irreversible step
Mark and excavate.
A precise footprint makes every later layer easier to level, compact, and retain.
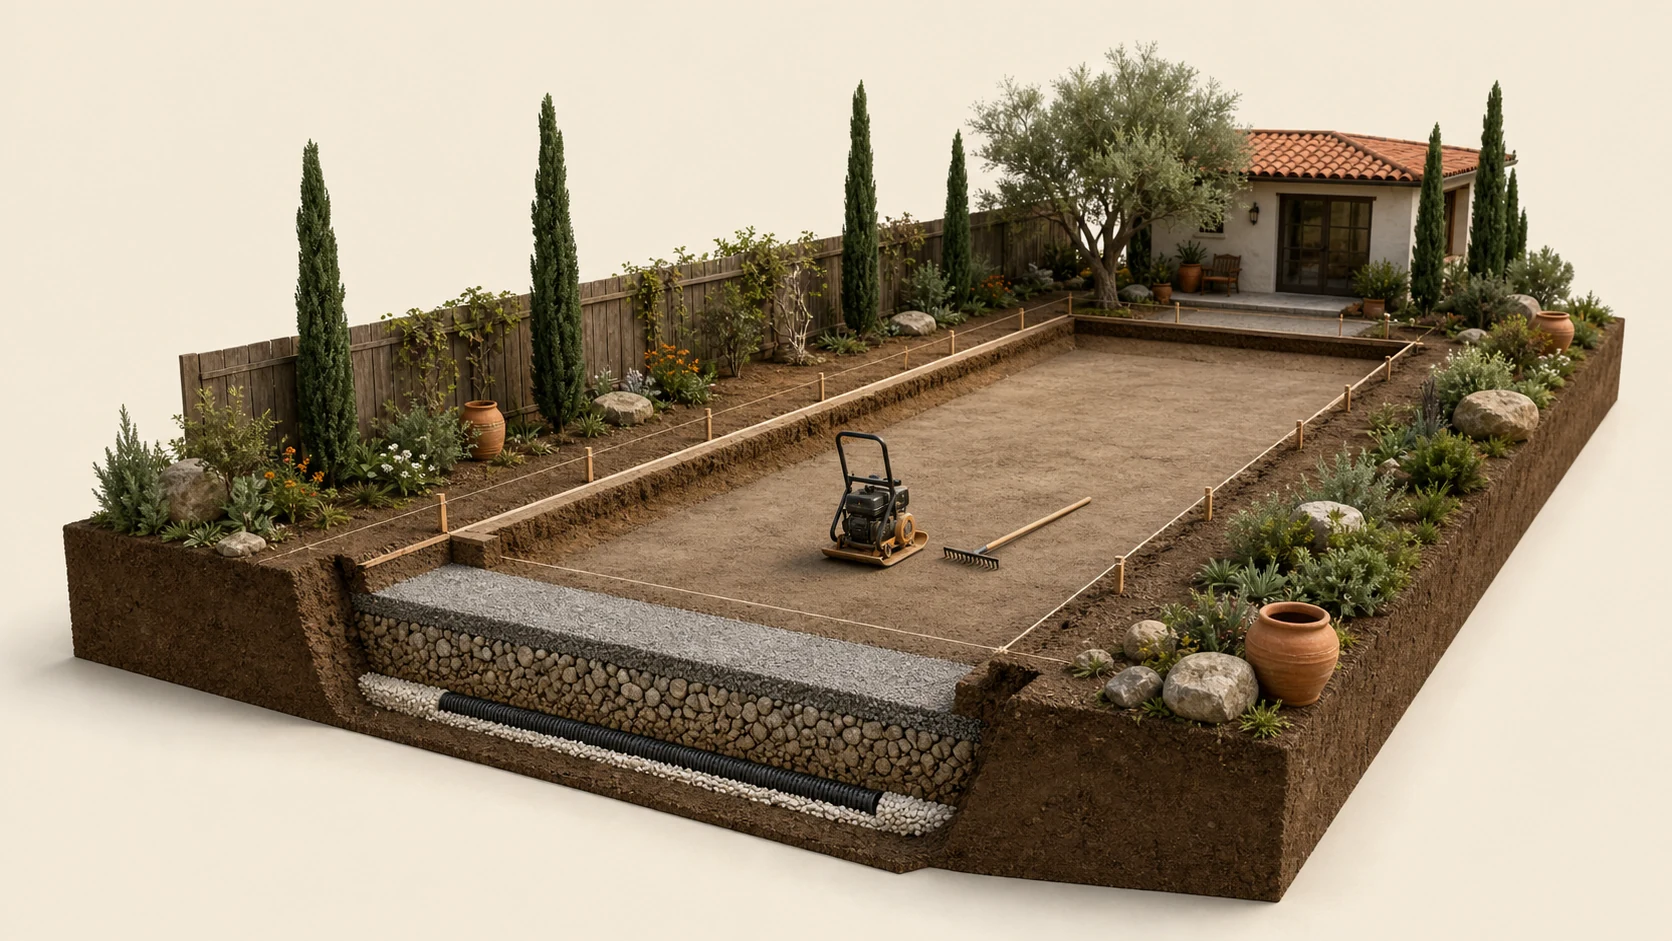
Set stakes and string, confirm diagonals, then excavate roughly 4–8 inches depending on the planned base and surface system. Remove roots, rocks, organic soil, and soft spots. The subgrade should be stable and intentionally shaped—not casually “flat.”
Pause before filling. This is the last easy moment to correct dimensions, access, and drainage direction.
What keeps the court alive
Build drainage and base layers.
Most surface failures begin underneath the surface.
Grade the court to move water, commonly using a gentle 1–1.5% slope where appropriate for the site. A typical assembly uses 4–6 inches of compacted gravel for drainage and 2–3 inches of crushed stone for a firm upper base. Compact in manageable lifts rather than treating the full depth as one layer.
- Top
- Playing surface
- 2–3 in
- Compacted crushed stone
- 4–6 in
- Drainage gravel
Explore bocce court drainage solutions
Structure at the edges
Install the borders.
The perimeter is part boundary, part retaining system, and part playing feature.
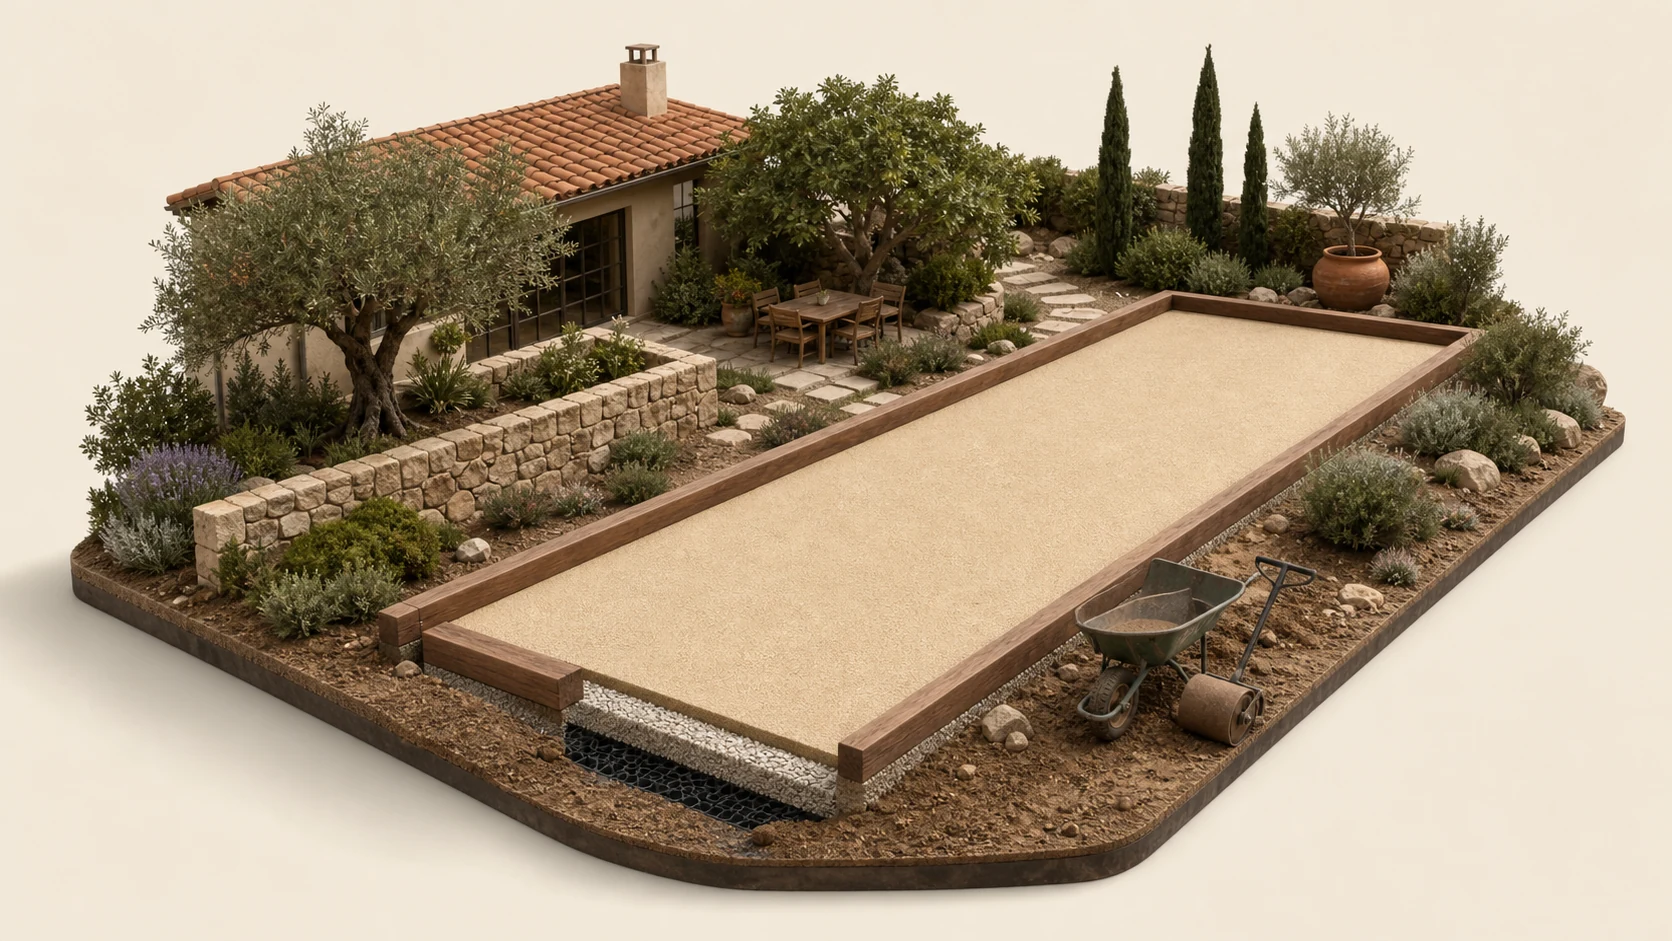
Pressure-treated 4×4 or 6×6 lumber is common and approachable. Concrete or stone creates a permanent architectural edge. Rubber and composite systems add resilience. Whatever the material, keep the border straight, securely anchored, and high enough to contain the finished surface.
- Wood: familiar and workable
- Stone or concrete: durable and formal
- Composite or rubber: resilient and low-splinter
The layer everyone feels
Choose the playing surface.
Surface choice is a decision about play and ownership—not merely appearance.
Oyster shell offers a smooth traditional feel but needs resurfacing. Artificial turf provides consistent speed with less routine work. Crushed granite feels natural and affordable but needs leveling and compaction. Sand or clay mixtures create a softer casual roll and are more vulnerable to moisture and compaction.
Meet the main surface materials
Beyond the playing lane
Finish the landscape.
The court becomes useful when people can reach it, see it, and stay awhile.
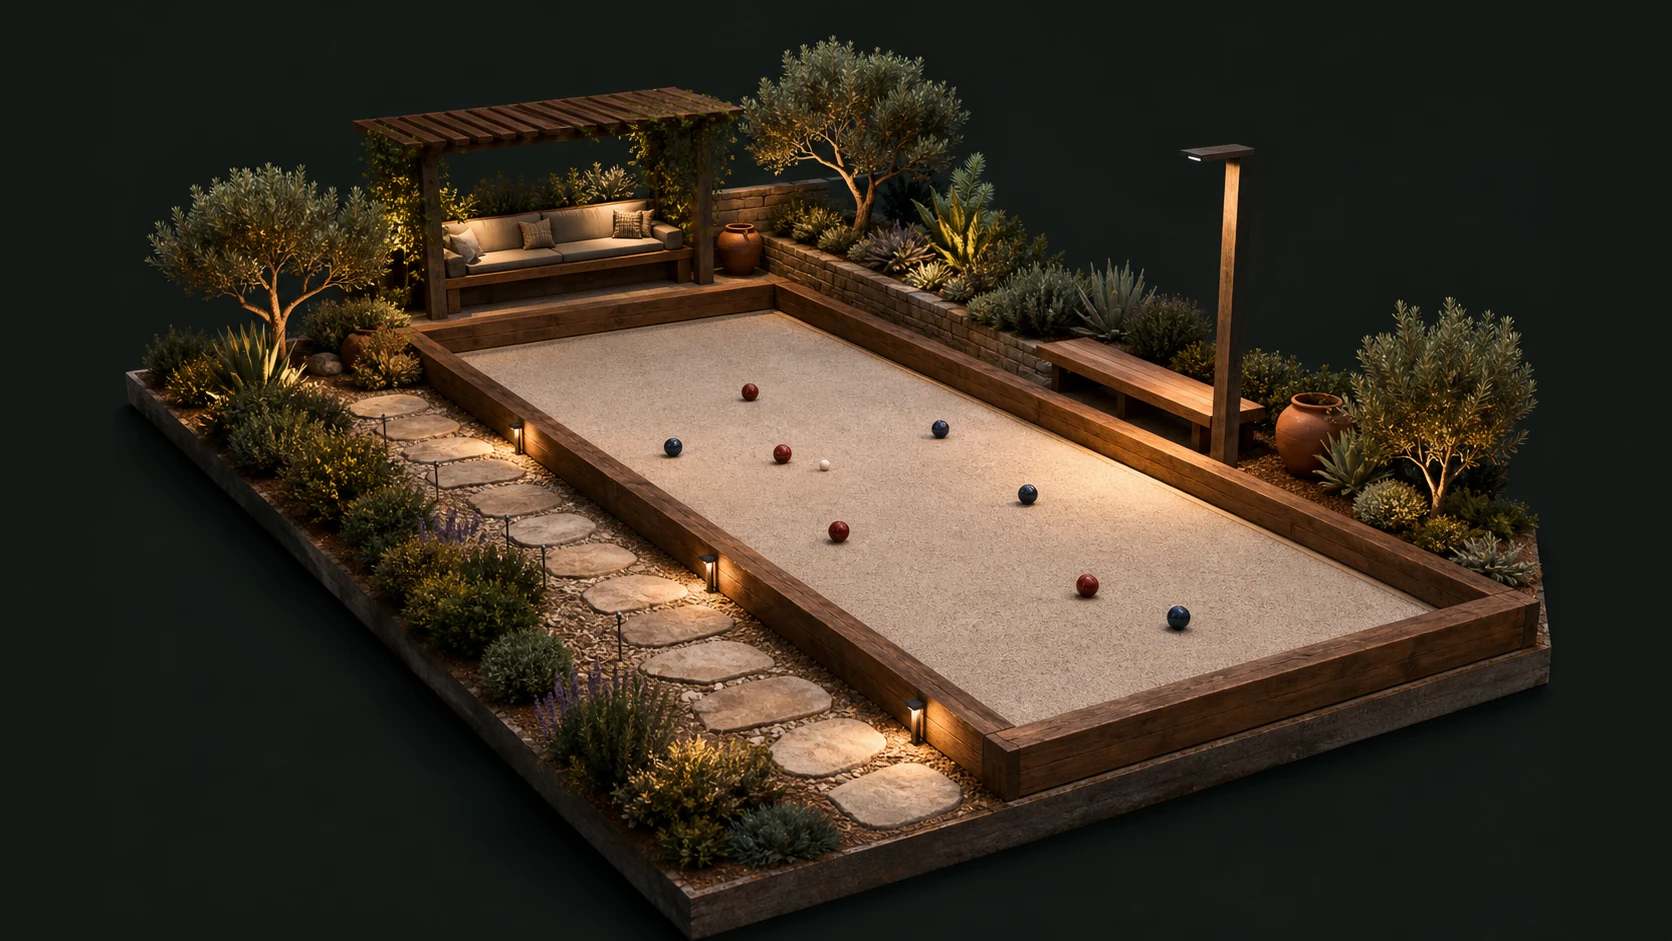
Add stable paths, seating, shade, and low-maintenance planting without blocking drainage or crowding play. Plan lighting before the area is finished: LED floodlights offer full-court visibility, while lower-output solar and string lighting work better as supporting ambiance than primary play lighting.
- Keep paths firm and accessible.
- Place lights to reduce glare and hard shadows.
- Leave room for raking, rolling, and material delivery.
Before construction begins
DIY or professional?
The question is not simply whether you can build it. It is which failures you can afford to discover later.
DIY
Lower direct cost and flexible timing, but several weekends of labor and full responsibility for grading, compaction, and drainage.
Professional
Higher upfront cost, faster execution, specialized equipment, and greater control over base preparation and finish tolerances.
Know when to involve a professional